|
Binding Services


Do you hate binding your quilts? Do you
have trouble getting nice mitered corners? My Quilting Beehive can do it for you!
Rates are based on the linear inch--
measure the perimeter of your quilt. A 60" x 80" quilt would be 280 linear
inches (60+60+80+80)
Option 1- Full Binding Service: $0.35
per linear inch
You provide the fabric, I will prepare the binding, attach it to your quilt by
machine, then hand stitch it to the back of your quilt.
Option 2- Partial Binding Service
option one: $0.25
per linear inch
You provide the fabric, I will prepare the binding and attach it to your quilt
by machine. You will hand stitch it to the back of your quilt.
Option 3- Attach Only: $0.20 per linear
inch
You provide the prepared binding. I will attach it to your quilt by
machine. You will hand stitch it to the back of your quilt.
Need to know how to make a binding?
Check out my YouTube
video showing how to attach a traditional binding
I
also wrote a handout on "Binding Basics" for the classes I teach.
Click on the
link to print out your own copy:
Binding
Basics Instruction Sheet (see step by step
photos below)
First, figure out how many binding strips to cut


Determine the perimeter of your quilt 2(length + width) or add the length of
all four sides.
So if your quilt is 83” x 83” the perimeter is 332”
Divide the perimeter by the width of your fabric (usually about 40”)
332/40=8.3 (round up), so this example needs 9 binding strips. By rounding
up, you will have a little extra to make up for the width of the seams.
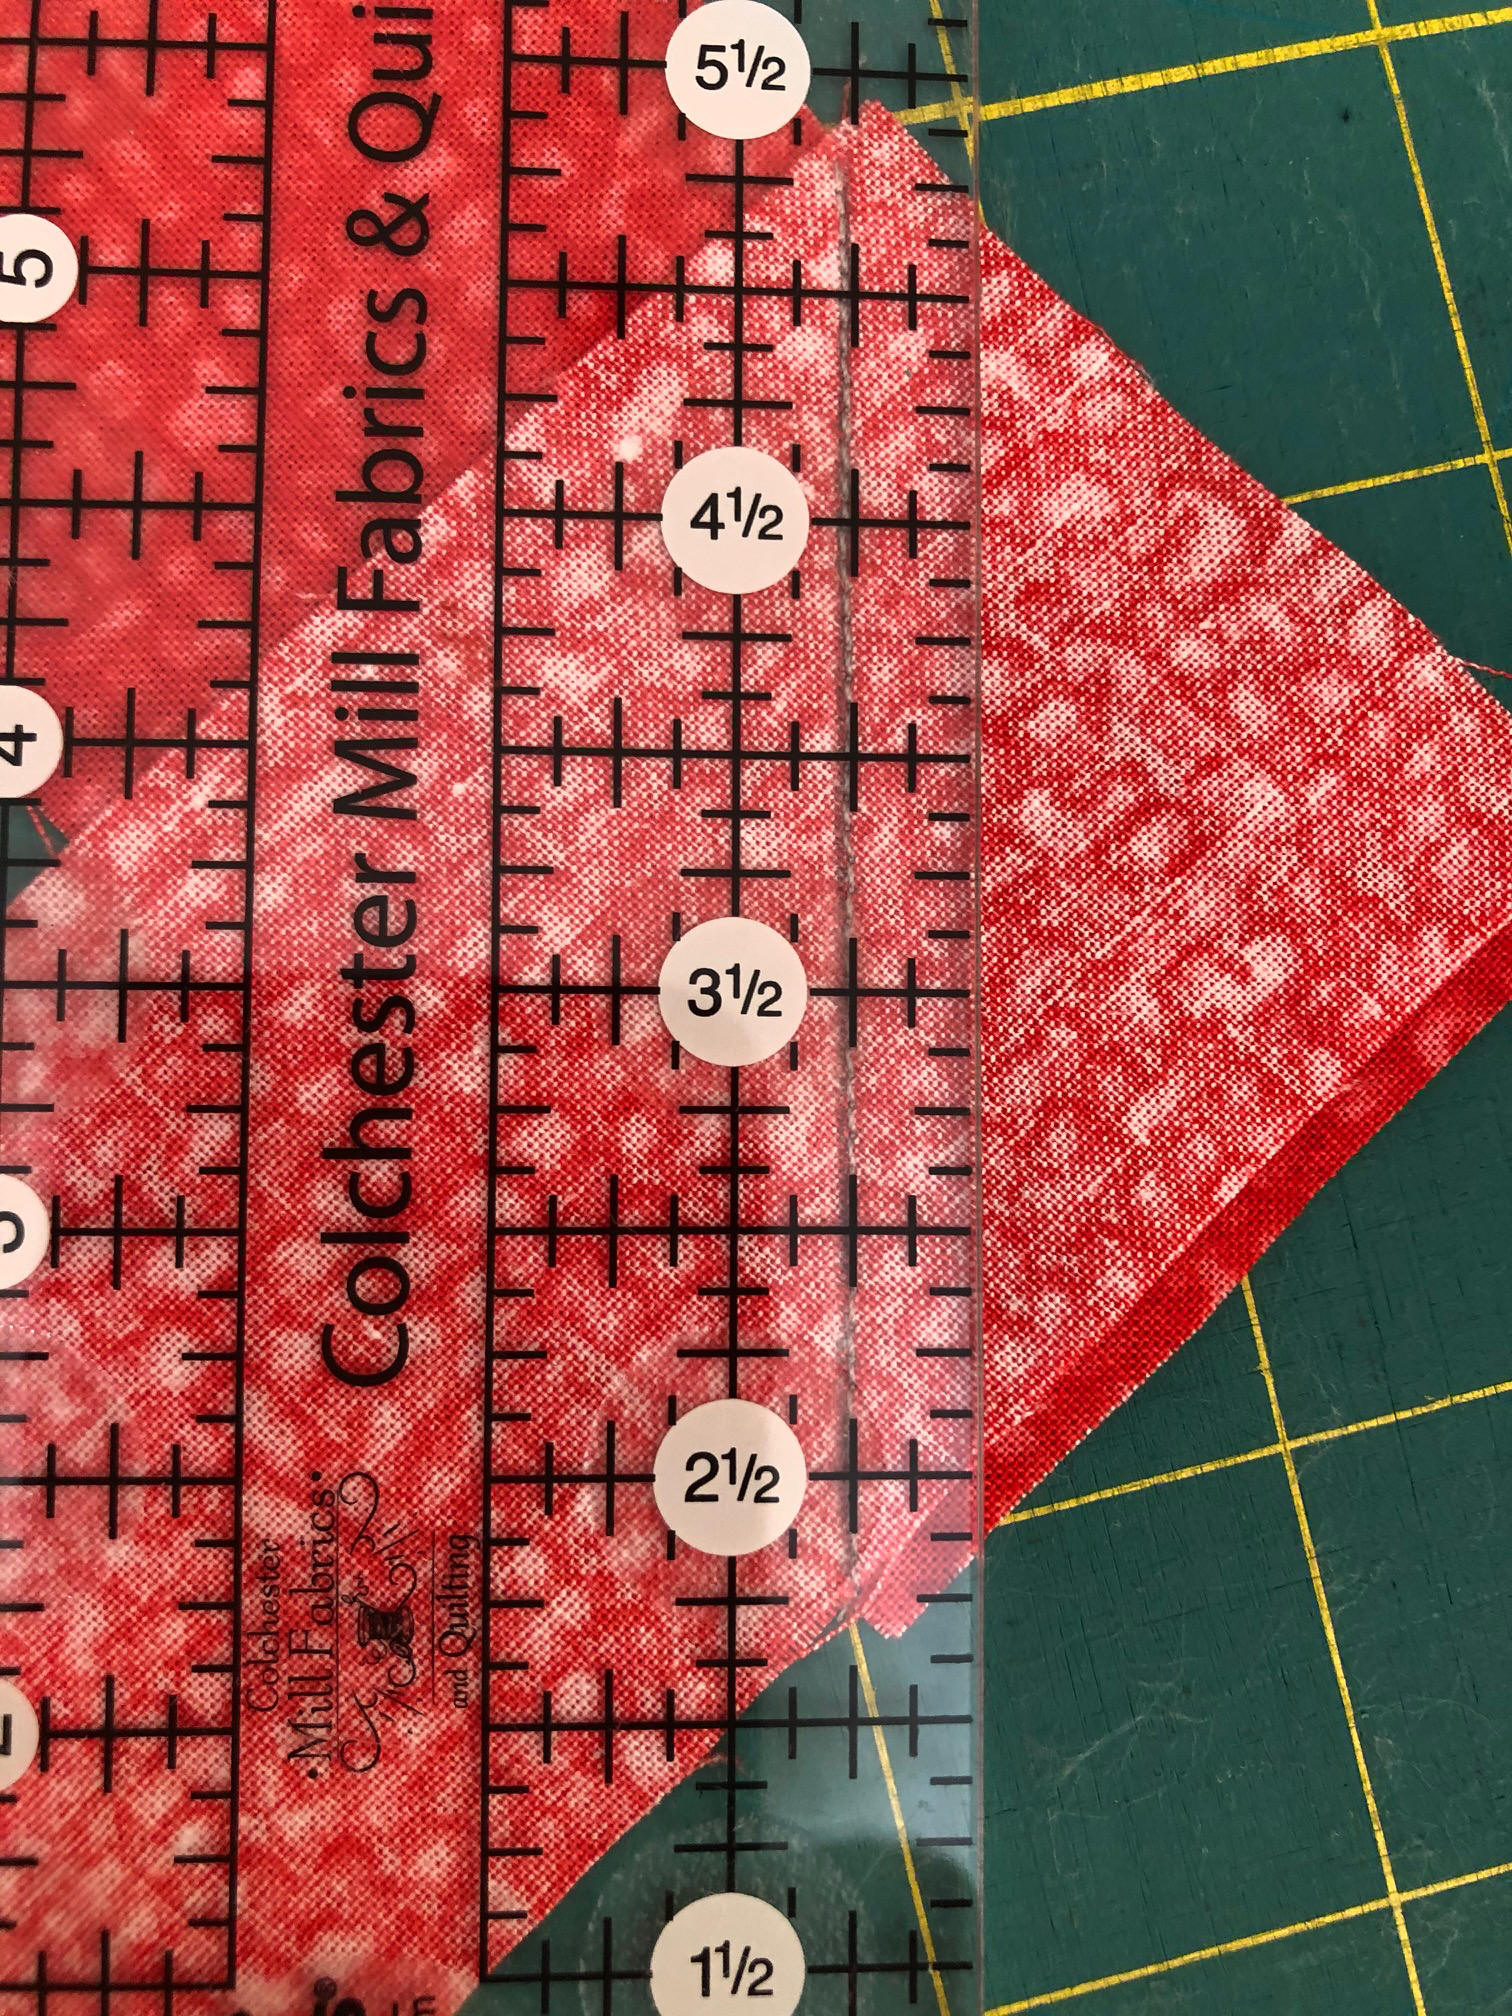
Binding strips can be cut 2 ¼ or 2 ½ inches wide. It is a personal preference.
If you use a wider strip you can sew with a slightly wider seam while the
narrower strip requires a ¼ inch seam. The wider strip gives you more fabric to
fold to the back. I like the 2 ¼” strips.
Cut
enough strips for your quilt. Trim off the selvedge edges.
Next, piece the strips end to end to create one long binding strip
 Lay
strips right sides
together at a 90 degree angle. Lay
strips right sides
together at a 90 degree angle.
Decrease your stitch length for a tighter stitch.
Be sure that your diagonal is in the direction shown.
Sew a diagonal line along center of square of the overlap.

 I like to chain piece. Be careful if you are using a
batik or solid where it might be hard to tell which side is the right side.
I like to chain piece. Be careful if you are using a
batik or solid where it might be hard to tell which side is the right side.
     Trim
off excess leaving
about ¼” seam allowance. Trim
off excess leaving
about ¼” seam allowance.
You can trim with scissors or a rotary cutter and ruler.
Repeat, connecting
all strips end to end.
Press seams to one side.
Fold and press the binding in half


 Wrong sides together, along the long edge to create a very long strip about 1
1/8 inch wide.
Wrong sides together, along the long edge to create a very long strip about 1
1/8 inch wide.


Tip***
use a cardboard tube to roll up the long strip. This a a toilet paper tube
covered in fabric. The white ribbon is long enough to hang around my neck.
I can pull out a little binding at a time while I am sewing to prevent it
getting twisted and tangles
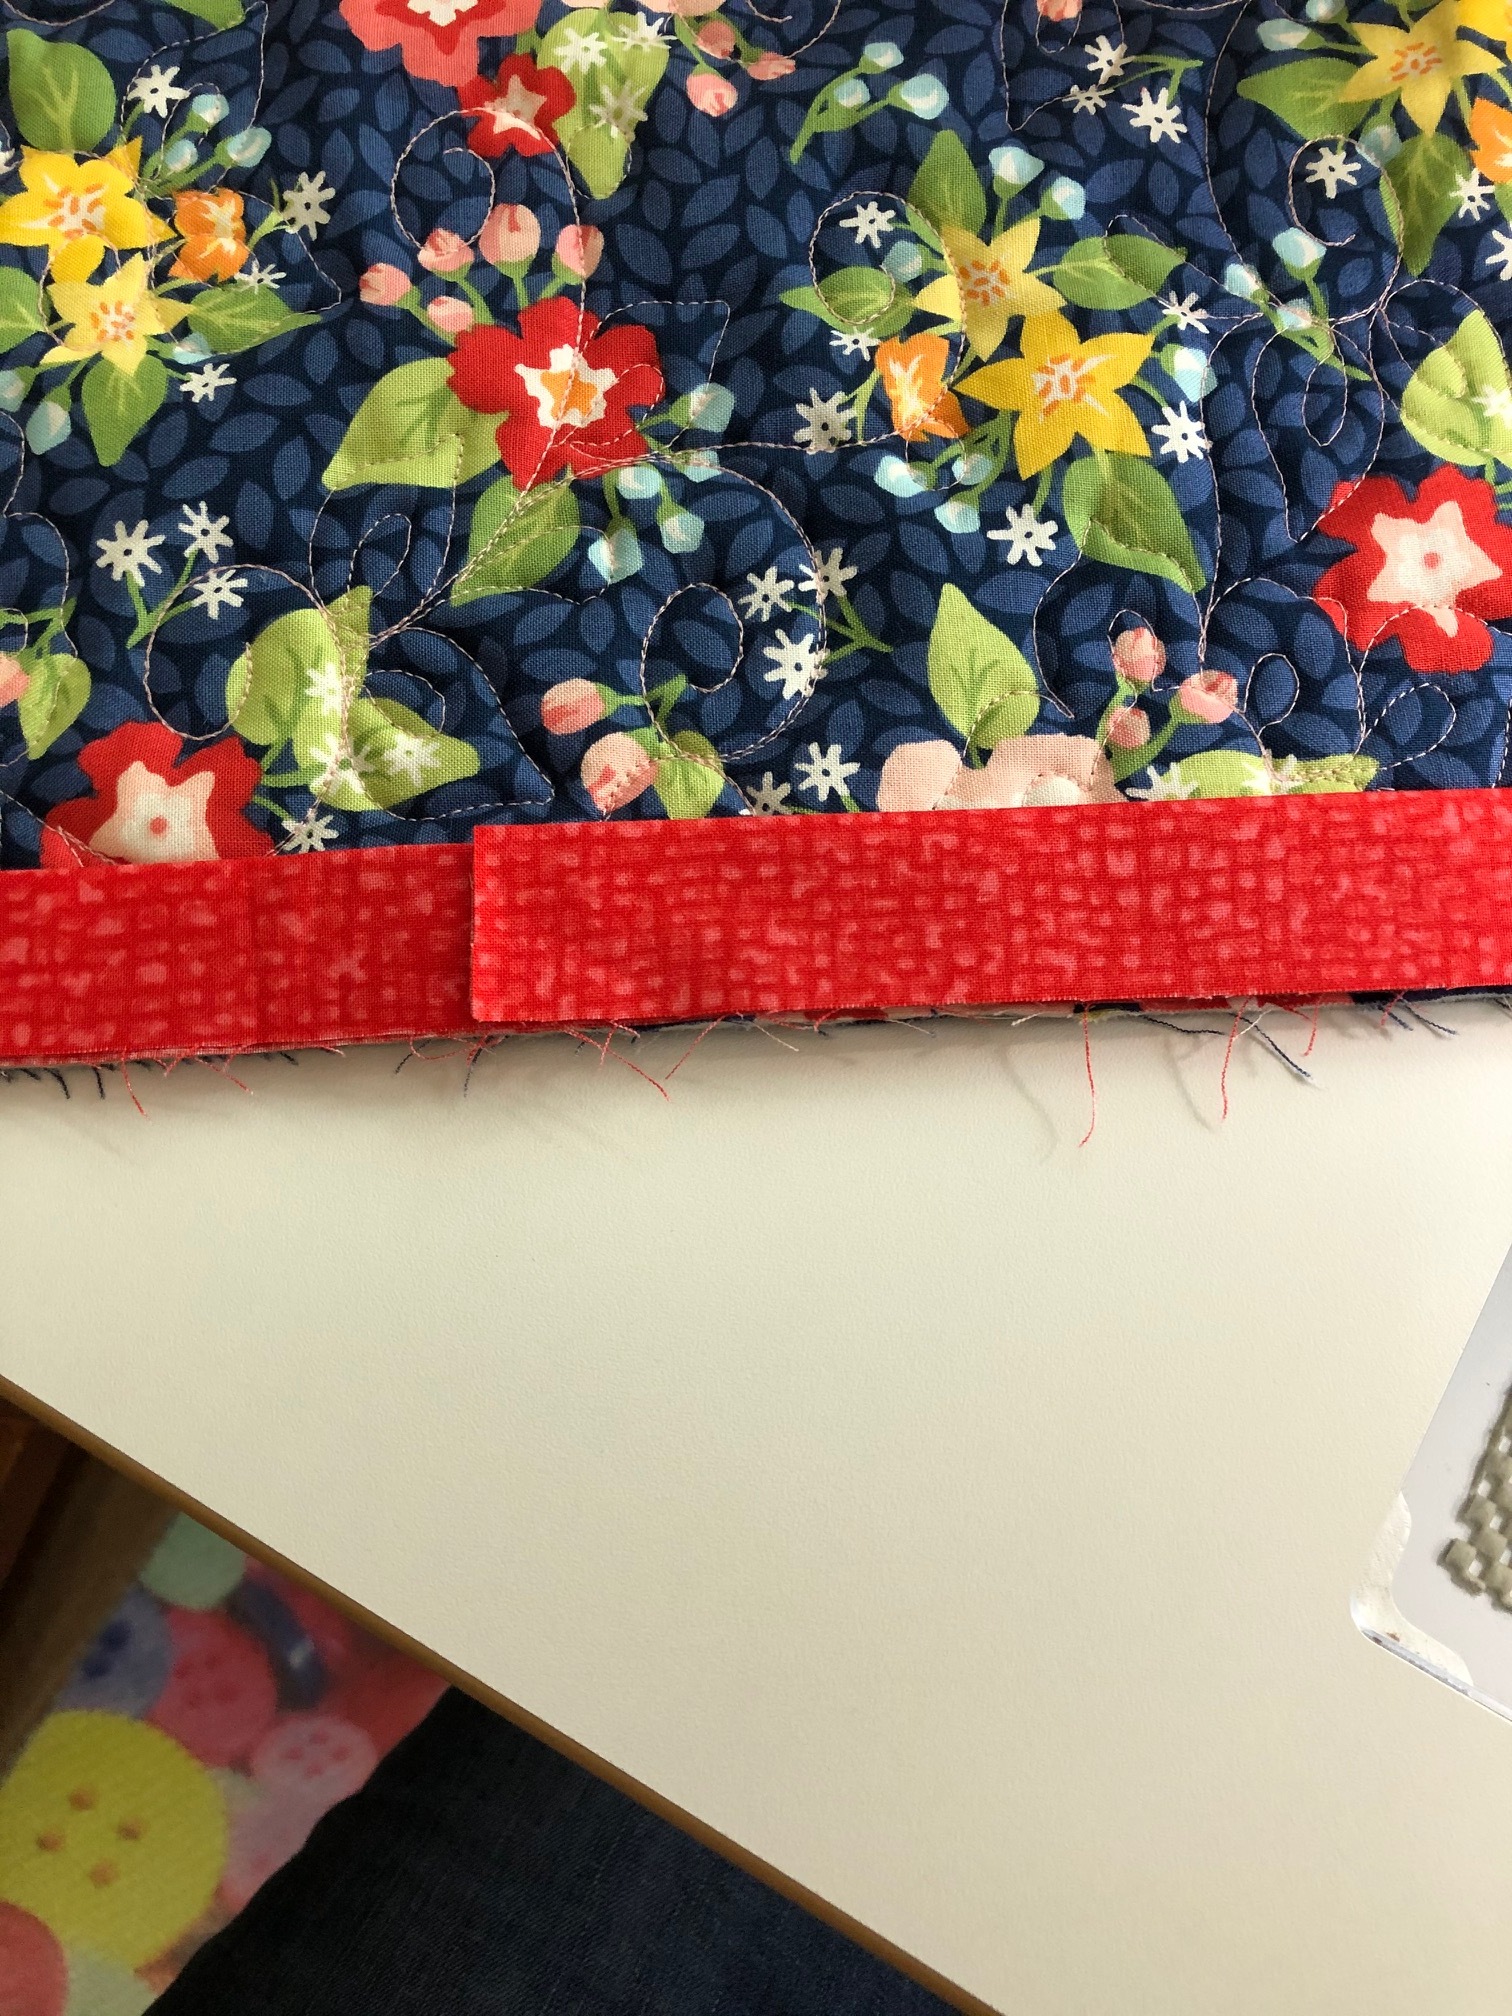
Attach your binding to your quilt
Be sure to return your stitch length to a standard length (about
2 or 2.5)
Use a ¼ inch seam ( I use a generous 1/4"... the opposite of a scant 1/4"),
start in the middle of one side leaving about a foot of binding tail free.
Continue stitching until you
are near the corner.


Fold
the binding strip away from the quilt creating a 45 degree angle. Finger press
this fold line.
Use a marking pencil to mark inside the fold line. Sew to this mark (you are
leaving about ¼” inch un-sewn—the width of your seam allowance).
Back stitch and cut thread.


Fold
binding edge up away from quilt to create a 45 degree angle in the binding.
Then fold down onto the next quilt side so the folded edge is even with the
first quilt side.
There will be a triangular flap in the corner. This will give you a nice,
mitered corner.


Start sewing second side ¼ inch from the quilt edge. Tip-- keep the weight of
the quilt up on your table.


Repeat on all four corners.
Stop stitching about a foot before reaching where you started sewing.
Finishing the ends
Overlap the two tail ends along the quilt edge (trim tail if needed) so the tail
on the right side is on top of the tail on the left side.
Use a marking pencil or pen to mark a point near the center of the overlapping
binding tails. Mark on the top layer of each strip in the same location near the
center of the overlap.


Open
the left side tail pulling the mark down toward you without twisting so the
right side of the fabric is facing up and the mark is at the bottom edge.
Open the right side tail so the fabric is facing down and bring the mark to
match up with the mark on the left. Turn so the two tails are perpendicular
(90-degree angle).
 
You
will sew these ends together on the diagonal like you did when you pieced the
binding strips together.
Mark the sewing line—45-degree angle starting at the point you marked heading
toward the other corner of the overlap
Pin along this line to check – be sure the fabric is not twisted before you sew.

Once you are sure it is not twisted, sewn on line, trim leaving ¼ inch seam
allowance.
Refold and line up along edge of quilt.
Finish attaching to the quilt.


Fold back the binding at each corner.
Trim the quilt top, backing, and batting using car not to cut the stitches that
are holding on the binding
 
Bring the folded edge of the binding to the back of the quilt, covering the
stitch line created when you attached the binding.
Hand stitch in place with thread that matches the binding fabric.
I use a clip to hold binding in place as I start to sew. Then. I fold the
binding into place and hold with my left hand as I sew. Take small
stitches.


At the corners,
fold back the miter in the opposite direction of the miter on the front to
reduce bulk. Stitch a couple stitches in the mitered corner on the back and
front of the corner.


|